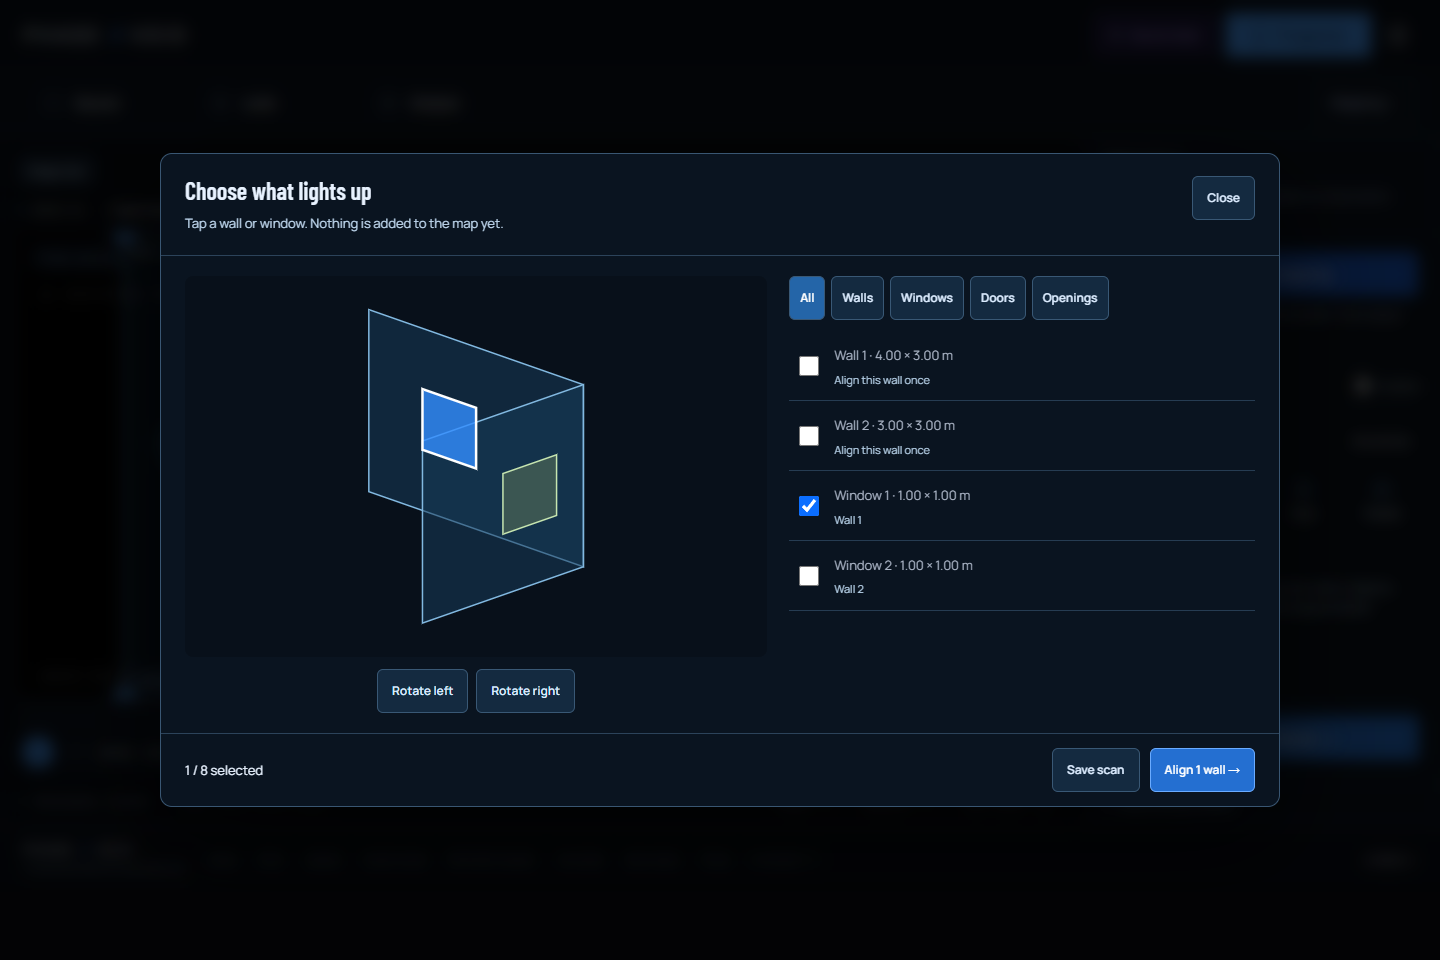
A calculation reference is not an illuminated surface.
Start by choosing what should receive a visual. In the room selector, tap the detected window or choose its named checkbox. You can rotate the diagram and use the type filters when several surfaces overlap in the view. The list remains an alternative to precise tapping on a small shape. A visible wall in the diagram does not mean that wall has been selected for output.
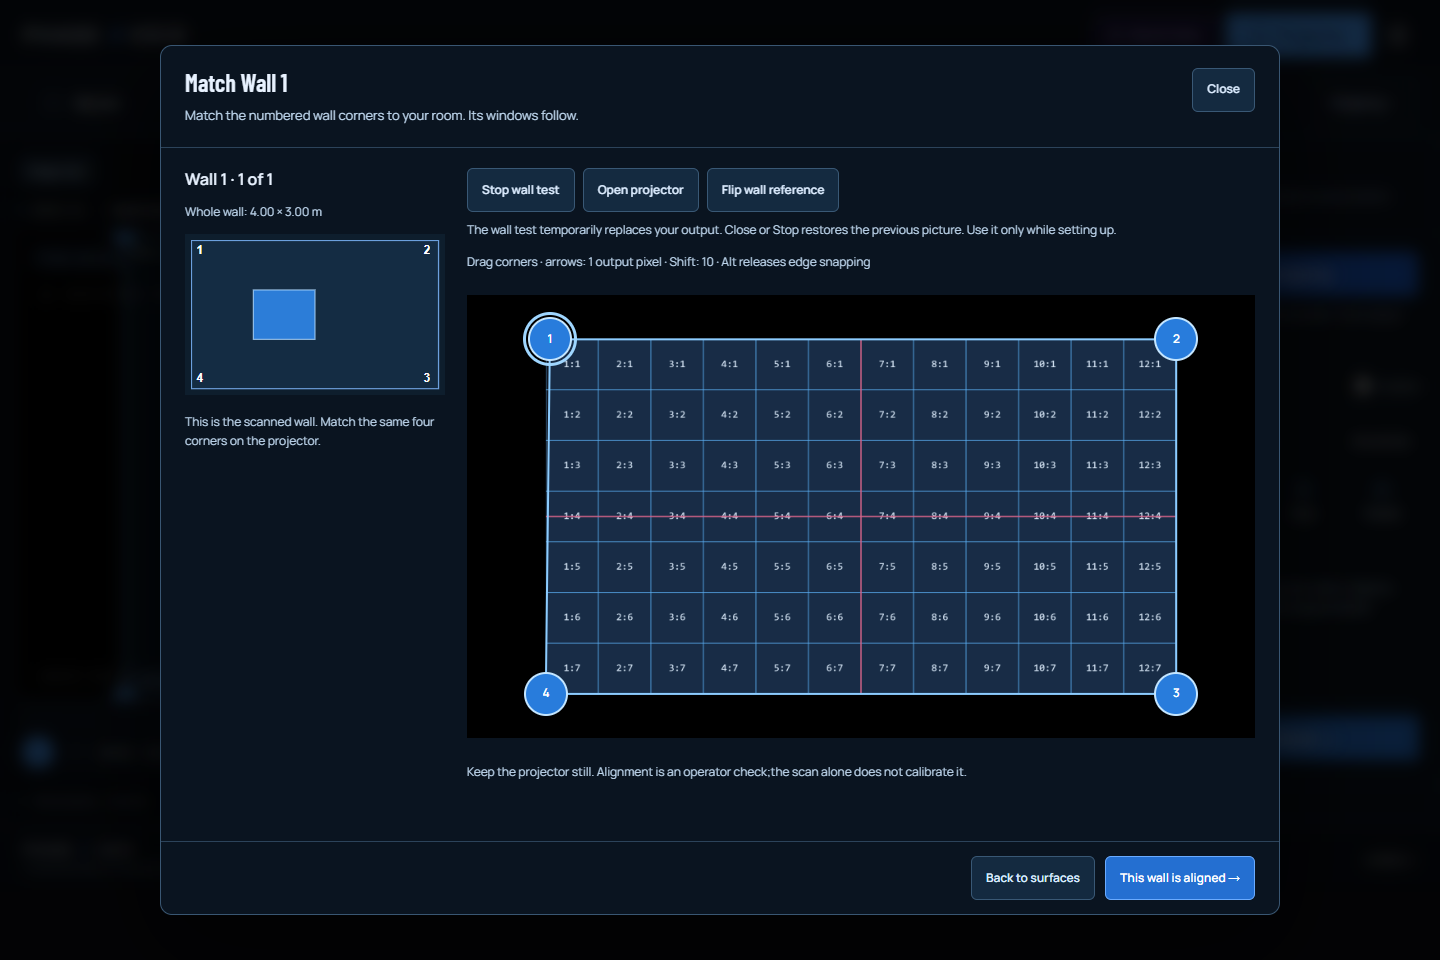
A chosen window refers to its parent wall for alignment. Studio needs that relationship to place the window consistently inside the wall plane. It does not need to add the wall as another displayed region. Confirm the parent wall corners, then inspect the Review list before applying. If only Window 1 is selected, that is the new surface being added. The scan-versus-calibration explanation separates those two roles.
This distinction also helps when discussing a setup with another operator. “Use this wall as the reference” and “put moving imagery across this wall” are different instructions. Name the intended surfaces and point to the final projector picture. An attractive room diagram is useful for selection, but the applied raster and a physical check decide whether the planned composition matches the room.
Check what is already in the map before adding another region.
The review offers append or explicit replacement. Appending retains the existing mapped surfaces and their looks. That is useful for extending a calibrated setup, but it can also explain an unwanted background:an earlier Main screen or wall may still cover the full picture behind the newly selected window. Choosing only the window in the new scan draft does not silently delete an existing surface from the current map.
| Intended result | Review choice | Then inspect |
|---|---|---|
| Only the new window region | Explicitly replace the current map when that is the intended change | No old full-frame surface remains in the applied list |
| Add a window to an existing setup | Append while keeping the current map | Existing surfaces still illuminate their earlier regions |
| Wall and window with different looks | Select both deliberately | Surface order, overlap, opacity and the actual result |
| Extend a crowded map | Stay within eight final surfaces | Choose fewer additions or explicitly review replacement |
Mapping Undo restores the earlier map after Apply. Use it as recovery for a deliberate edit, not as the only backup of a complete show. Keep a saved map or session before changing an established installation. If you revisit this same room later, the meaning of append is still “keep what is already here,”not “rebuild only the current selection.” Check names and counts rather than relying on a thumbnail.
When the wall and its window are both selected, their regions overlap by design. The added child surface is placed after its selected parent in the new group. Existing blend modes, opacity, masks and ordering can still change the visible result. If the window should have another world or effect, select that exact surface before editing it. Several regions share one final projector raster; they are not independent physical projector feeds.
Separate the position of the region from what plays inside it.
A surface can follow Program, the complete composed picture, or use an independent procedural world and its own look and Surface FX. Program may include the main world, video layers, text and global effects. An independent surface has a different source scope. If changing the main world does not change a particular window, first check whether that surface uses Program or its own world. This is routing, not a failed corner edit.
Likewise, a correctly placed outline can contain an unexpected crop or effect. Source crop chooses part of the source image; the quad places that source on the output; the mask controls the region inside it. Do not move physical calibration corners simply to compensate for the wrong visual source. Use All controls when you need those details. The existing surface-source guide owns the complete operational procedure.
- Confirm the intended surfaces and the actual append/replace choice.
- Align the necessary parent walls and inspect the final output after Apply.
- Select one named surface, then choose Program or an independent world and tune its FX.
- Rehearse the actual sound and projection arrangement, and save a recoverable map or session.
Public Studio tools remain free, and manual surfaces remain available when a scan is unsuitable. Native iPhone capture still needs the separate signed scanner build and device verification; the browser currently opens saved RoomPlan JSON. For the next visit, read which room-mapping file to save. It distinguishes the original scan from the derived map and the wider Studio setup.
TRY THE IDEA
Open Mapping with my setup kept.
Opening this task starts no audio, selects no file and grants no input permissions. Review the controls before changing the show.
Open Mapping with my setup kept