The scan and the projector describe different spaces.
A room scan describes structural surfaces in three-dimensional space. A projector receives a two-dimensional picture. The fact that a window exists at a position in the scan does not tell Studio where the projector is, which way it points, or how its image lands on the wall. A visually convincing room diagram is therefore a starting reference, not evidence that projected corners will match the physical opening.
Apple describes RoomPlan as a native Swift API that uses the camera and LiDAR to create a parametric room model. PHASE//VOID can open structural RoomPlan JSON locally in Mapping. Its separate native scanner project is prepared, but a signed installable iOS build and physical-device acceptance are still pending. Opening the website in Safari does not start that native scanner. The current working entry is a saved room-scan JSON.
| Part | What it provides | What it does not establish |
|---|---|---|
| Room scan | Detected wall/window geometry and parent relationships | The projector position or final pixel placement |
| Wall alignment | Four chosen projector-frame corners for one parent wall | Automatic registration for every wall in the room |
| Wall-test preview | A temporary grid through the existing output | Successful physical alignment or a saved map |
| Review and Apply | An explicit change to the selected mapping surfaces | Playback, device permission or a venue-readiness certificate |
Align the parent wall once, then let its windows follow.
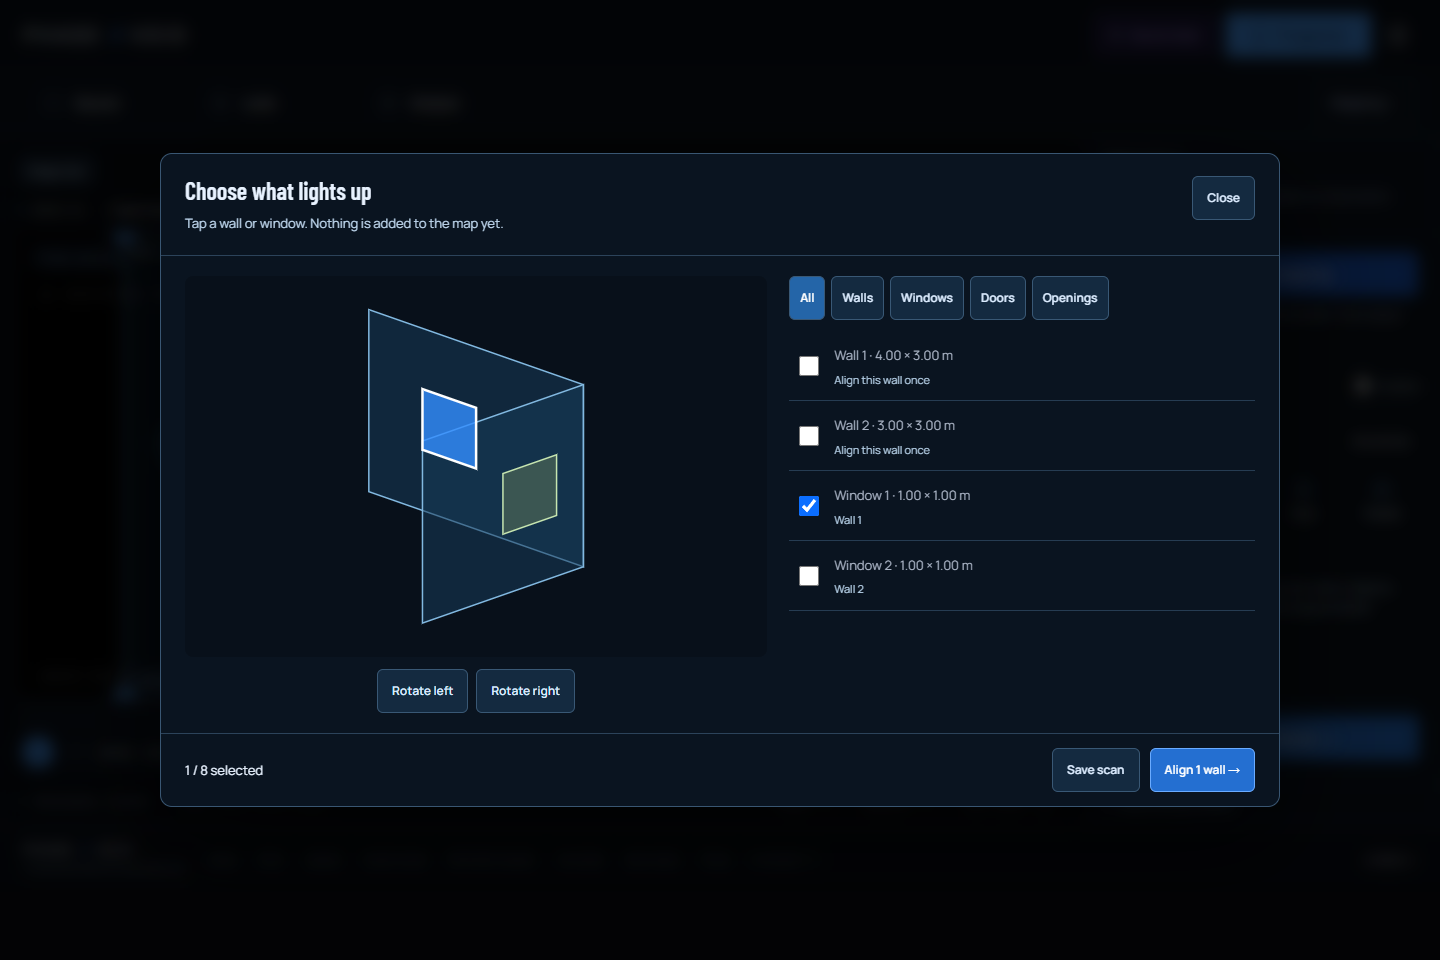
Suppose you want a visual only inside one detected window. Select that window in the room diagram or list. Studio uses its parent wall as the coordinate reference, then asks you to align that wall. The parent is needed for calculation even when it is not one of the surfaces you intend to illuminate. Selecting the window alone does not add the whole wall to the applied map.
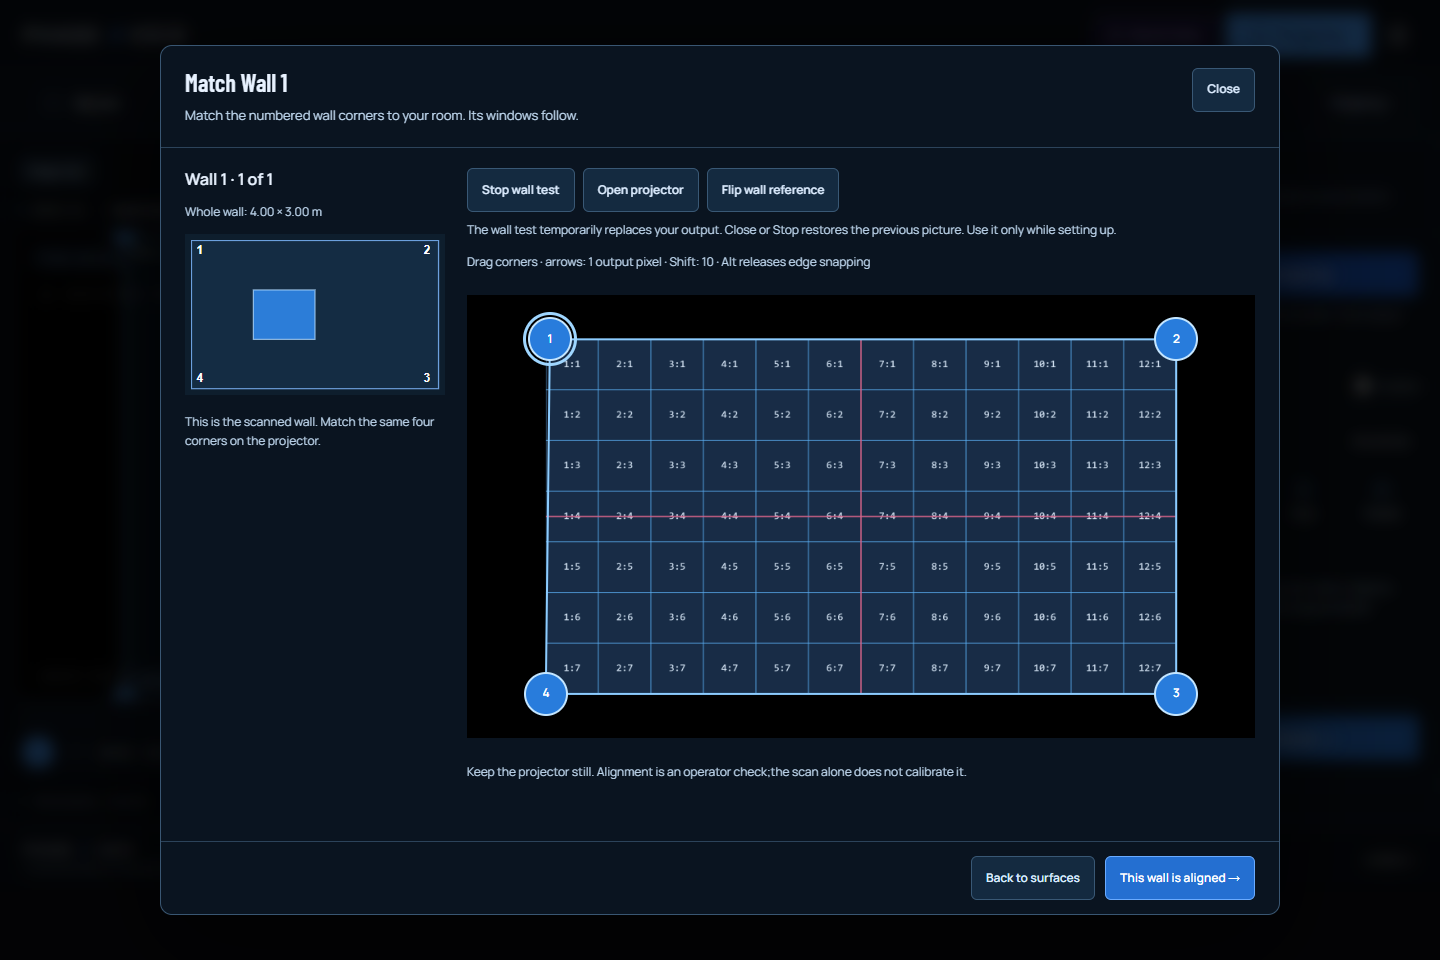
Match the four numbered wall corners against the actual projector. The wall reference shows the detected opening positions so you can identify the same side and orientation. If the opening appears on the opposite side of the reference, use Flip wall reference and check again. The confirmed parent-wall alignment is then used to calculate the chosen window corners. Another parent wall needs its own alignment; one checked plane does not register the entire room.
This automatic conversion is bounded. Supported rectangular planar parents and unambiguous child attachment can use it. Curved or irregular walls, missing parents, ambiguous matches and invalid geometry need manual mapping or a better scan. A scan estimate can also need a physical correction. Keep the complete mapping controls available rather than treating the imported model as an unquestionable measurement.
Make the output test deliberate and reversible.
- Open Mapping → Room → Open room scan, and choose the intended surfaces. Importing or choosing alone does not apply them.
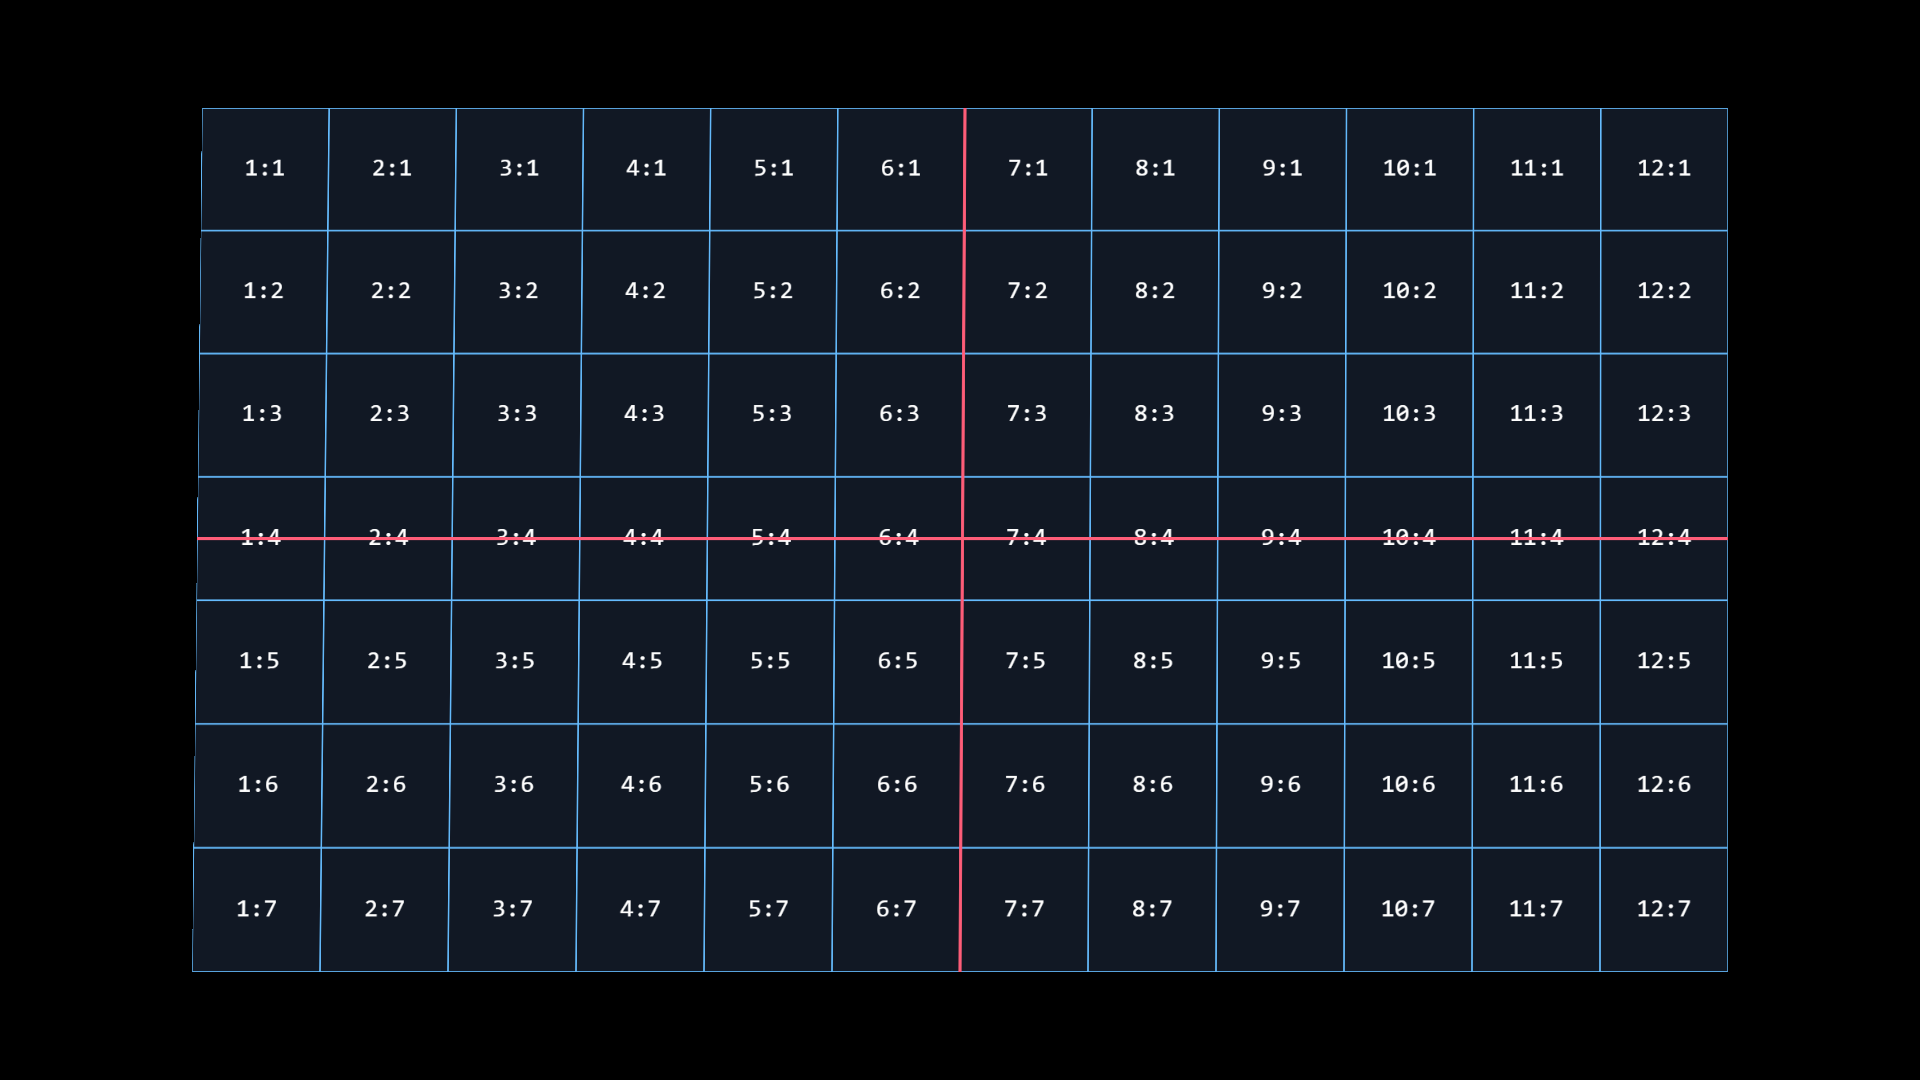
- Enter wall alignment. Show wall test explicitly sends a temporary calibration grid to the current output. Use the actual projector arrangement to judge it.
- Drag the numbered corners. Arrow keys give one output-pixel adjustment; Shift gives ten. If the picture is intentionally held or blacked out, resolve that operator state before judging the test.
- Use Stop or Close to restore the earlier output, or confirm each parent wall and continue to Review. Apply only after checking append versus replacement.
The editor can be large while the physical picture is still wrong. Output ratio, resolution, display arrangement and the projector position remain part of the real setup. Recheck after moving equipment or changing the frame. A browser screenshot proves that a control and software output were present; it cannot establish the room registration, the material receiving the light, or the latency of the sound-to-screen chain.
Use the room-scan operating guide for current controls. Next, read which selected surfaces actually light up. Once the placement is clear, the visual world and surface FX become a separate creative decision. Keep the sound source under explicit control while doing geometry work; loading a room does not require starting a track.
TRY THE IDEA
Open Mapping with my setup kept.
Opening this task starts no audio, selects no file and grants no input permissions. Review the controls before changing the show.
Open Mapping with my setup kept